The FAX format is also referred to as CCITT Group 3 or Group 4 compression and many people opt for it either when they plan to prepare an image file for being sent by fax, or when they simply want to save space by converting to a bitonal format. CCITT is an abbreviation coming from the International Telegraph and Telephone Consultive Committee — the organization responsible for establishing several transmission protocols, including Group 3 and Group 4 which apply to black-and-white images. Among the image extensions which support the CCITT Group 3 and Group protocols, TIFF is one of the most popular.
Irrespective of the image file format you plan to convert into TIFF with CCITT Group 3 or 4 compression, reaConverter will take care of the job fast and easy.
All you need to do is follow the 3 steps of the conversion process:
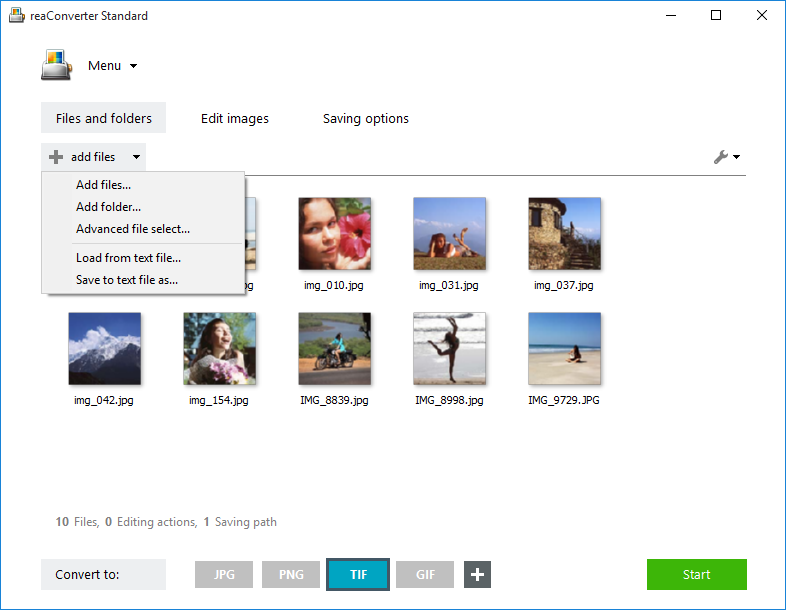
Load Files
Load all the image files you need to convert. From JPEG to PDF, BMP or PNG, this powerful converter covers over 600 image formats, including archaic and rare. Moreover, it helps you save a lot of time by supporting batch conversion, which means you can safely avoid doing the same operation over and over again when you have a large number of images to convert.

TIFF Settings
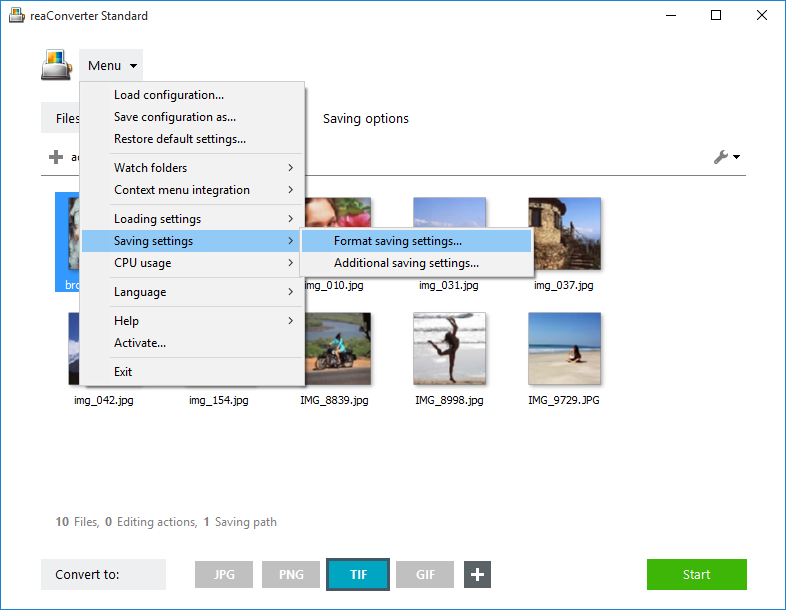
Go to the Menu → Options Saving settings → Format saving settings…

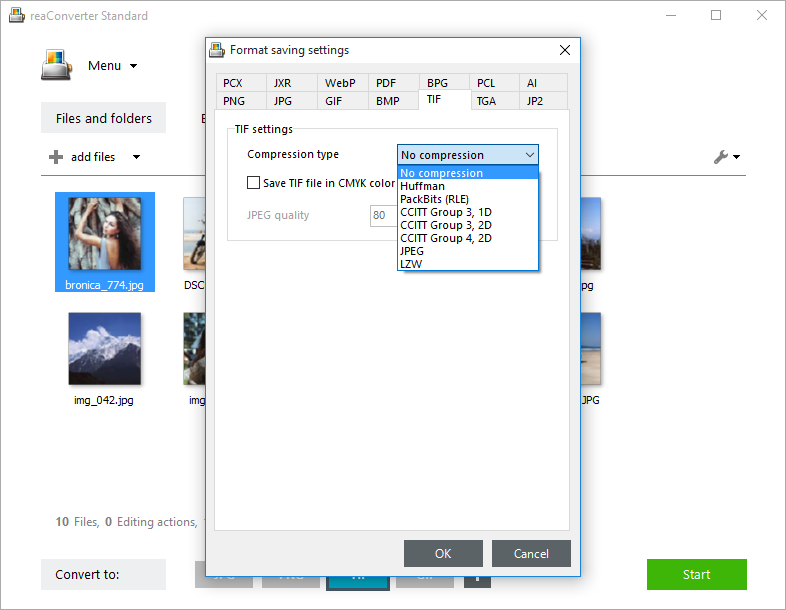
Then move to the TIF tab and choose the type of compression which best fits your needs (see options in the screencap below).

Image Editing
In this second step of the conversion you can also opt for several image editing features, such as resizing or mirroring the image, cropping or rotating it, adding a text or an image as watermarks, etc.

Save your Result
Go to the Saving options step of the conversion process and choose TIF as the output format of your images.

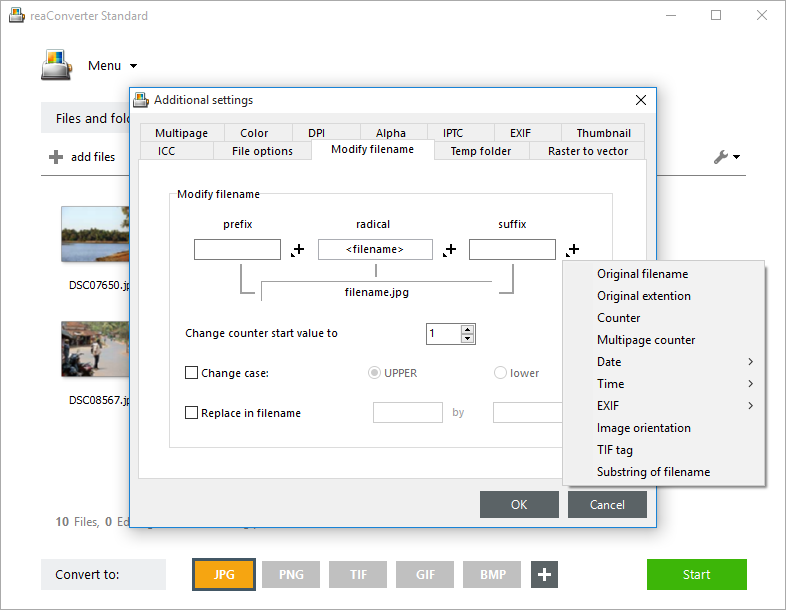
Here you can also opt for automatically modifying the name of the output files. For example, you can add “BW” (from black-and-white) as a suffix or prefix to the output filename, or you can opt for registering the date and time as part of the name of the converted file. This will make it easier to track the converted files. You can also opt here for overwriting the input file and for setting the destination folder as being the same as the source folder.

After checking all these options (and several others available), simply start the conversion.
You will soon be able to make full use of your newly converted images!
Advanced users can handle TIFF conversion using command line interface or DLL in manual, automated or scheduled mode. You are welcome to contact our technical support when you have any questions about reaConverter.