

When — mostly programmers, in fact — refer to the Netpbm format they usually imply a group of filename extensions associated with graphic images, including the following:
- PPM (Portable Pixmap Format), designed to represent full-color images
- PGM (Portable Graymap Format), corresponding to grayscale
- PBM (Portable Bitmap Format), representing black-and-white images
All these 3 image file formats can also be found under a single name: PNM (Portable Anymap Format). All were created in the 1980s and became very popular at the time among programmers and computer engineers. Their main advantage was their “portability” or ability to be easily exchanged on different platforms. The Netpbm package used to be a leading group of software used by designers and programmers to easily handle and edit images. But this was all before programs such as Corel Draw, Adobe Photoshop or Gimp became as widely available as they are today.
Though not completely outdated, Netpbm format files are less popular today than they were in the early age of computer graphics design. So if you find yourself in a situation where you have to handle such files, the easiest solution is to convert them to a more widely used and accessible image format, such as JPEG, PNG or TIFF. This will require a piece of quality conversion software and we recommend reaConverter.
reaConverter supports batch conversion for over 500 image formats, including the Netpbm group of extensions mentioned above. It’s easy to install and grants you a 15-day trial period, in which you can take full advantage of its professional conversion services. You will not need more than a few moments to get acquainted to its user-friendly menu and operate the 3 steps of the conversion process:
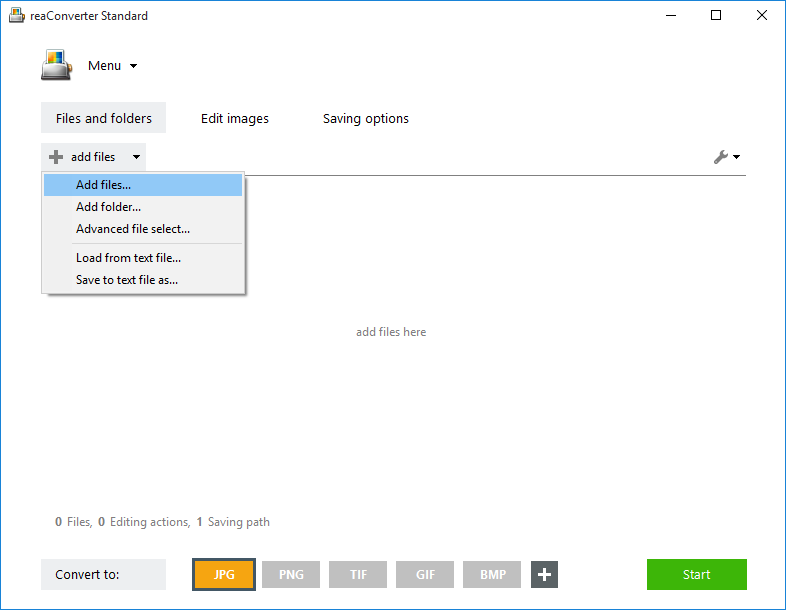
1. Load Files into reaConverter
Load one or more Netpbm image files and get them ready for conversion.

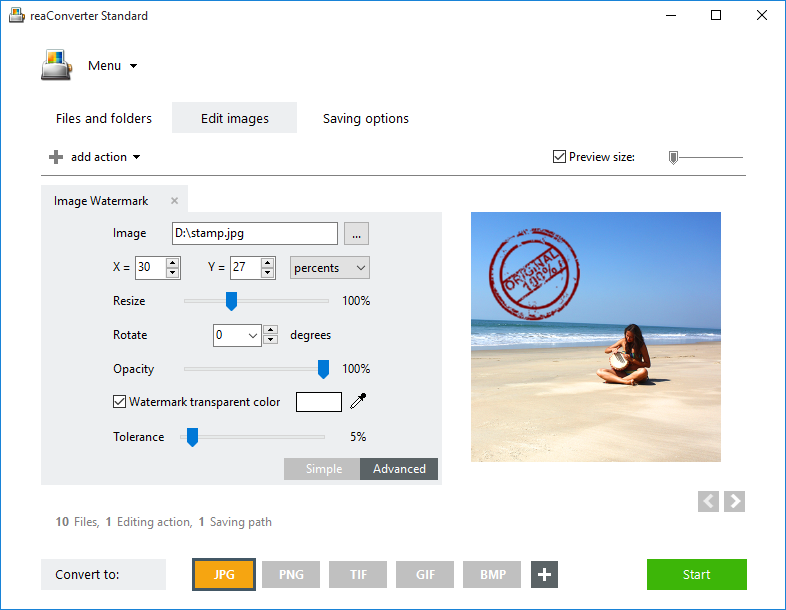
2. Apply Image Editing
In case you want to do any changes to your images, reaConverter offers you an impressive range of options for image editing. Here you can rotate, resize or crop the images, as well as add image effects or adjust brightness and contrast, convert to black and white, or add watermarking.

And these are just a few of the available choices. You can test them in real time by ticking the Preview button.
3. Save the Result
In the final step of the conversion process, after choosing the destination folder and the format of the output file, you can further opt for replacing the input file, or for generating an automatically modified filename for the output files.

Then simply Start the conversion process and soon enjoy your new image files!
Advanced users can handle Netpbm images using Command Line Interface, Watch Folders, or DLL. You are welcome to contact our technical support when you have any questions about reaConverter.